PAX Plus Quickstart Guide
PAX Plus Quickstart Guide
The PAX Plus dry herb vaporizer is a familiar product but comes loaded with an updated vaporizing experience . We’ll tell you how to use it, give you a brief rundown on the new experience modes, and then set you off on the right foot with a great first session. So grab your newly arrived PAX Plus and let’s get into it.
If you want our full thoughts and opinions on the PAX Plus, check out our PAX Plus Vaporizer Review.
Quick rundown
- Fully Charge the PAX Plus
- Cleanse with a burnoff session
- Grind and pack the herbs
- Turn it on and set it to Flavor Mode
- When it vibrates, take a hit!
- Turn it off and dump out the herbs when you're finished
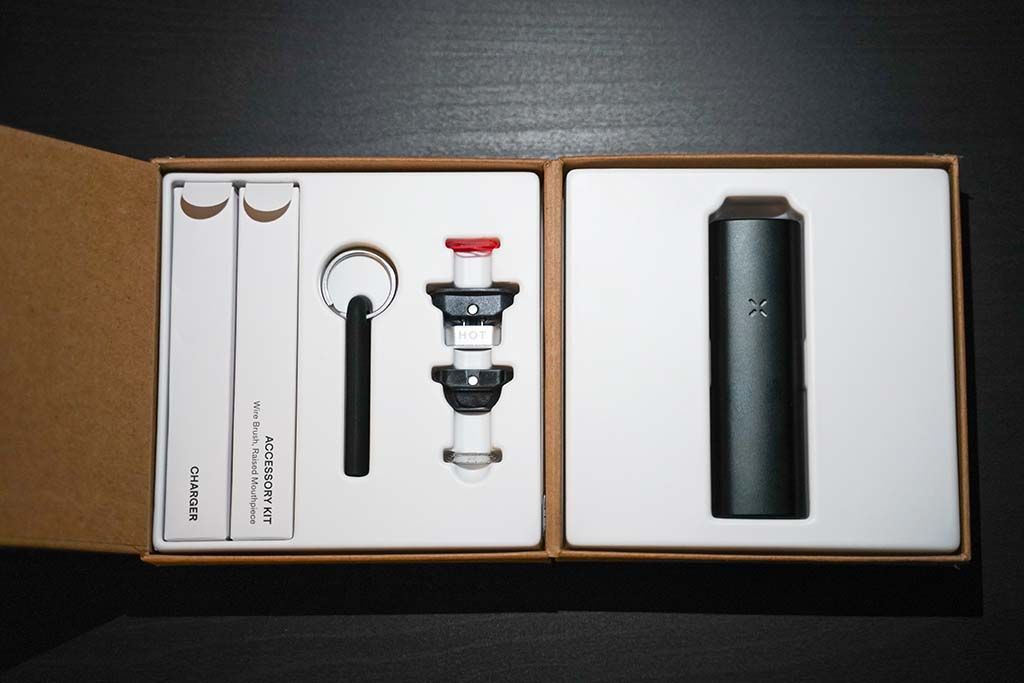
What's in the box
- Pax Plus Vaporizer
- Flat & Raised Mouthpiece
- Oven Lid
- Half-Pack Oven Lid
- Concentrate Insert
- 3D Oven Screens
- Multi-Tool (New)
- Wire Brush
- USB Charger
Charge it
Your PAX Plus comes out of the box with about half a charge , and we recommend you fill it up before your first session. Plug the charging cradle in and set the PAX down on it until the magnetic charge pins connect. Give it a little wiggle or push if its lights don't turn on right away. All four petals will light up white when it’s fully charged and ready.
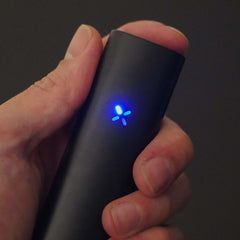
Single-button controls
The PAX Plus utilizes a single button , right under the mouthpiece, to start and stop your sessions and change settings. Press down on the dimple in the center of the mouthpiece until it clicks to turn it on. The lights will flash and turn purple to let you know it’s heating up, and then turn solid and vibrate when it’s ready to vape.
Change the experience modes
The PAX Plus utilizes four unique experience modes instead of single, preset temperatures. When it’s on, press and hold the button to enter the mode selector. Click once to cycle through each mode, and either press and hold or give it a shake to select it.
 |
 |
| Stealth Mode : Dims the lights & keeps the temperature cool to reduce visible vapor. |
Efficiency Mode : An extended session that starts low and gradually rises to a strong finish. |
 |
 |
| Flavor Mode : Prioritizes flavor with a good mix of strong hits and solid vapor production. |
Boost Mode : Maximizes extraction with high temperatures and dense vapor. Suitable for concentrate use. |
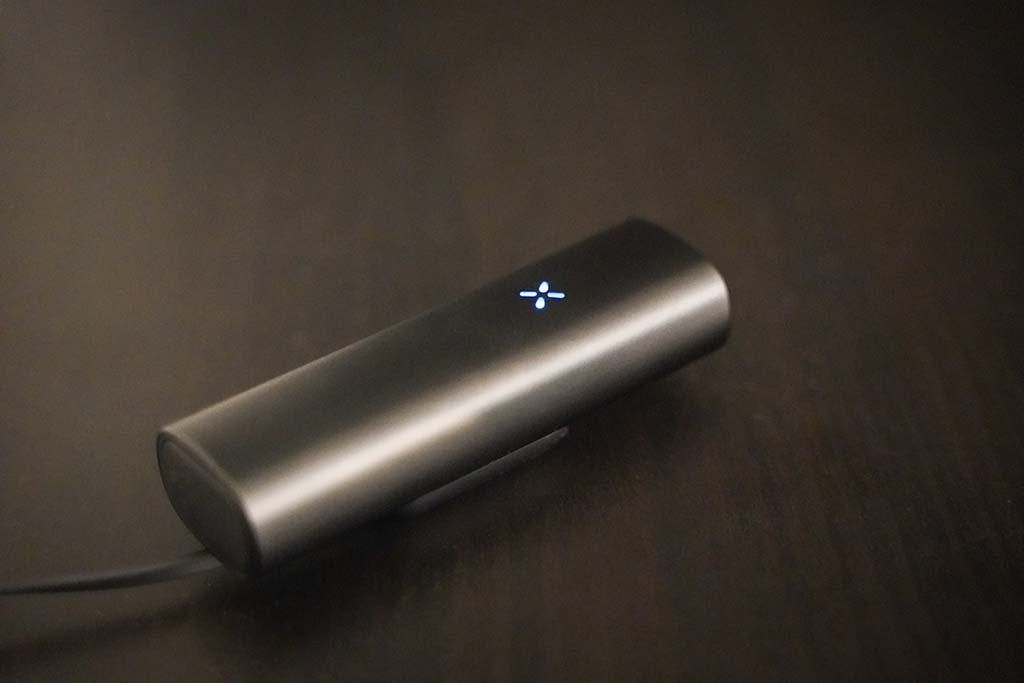
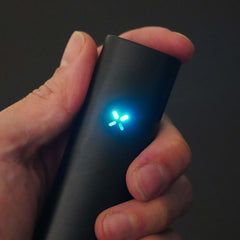
During a session, the light will turn blue
and start to cool down
if you set it down for around 30 seconds. Pick it up or touch the mouthpiece to re-engage it.
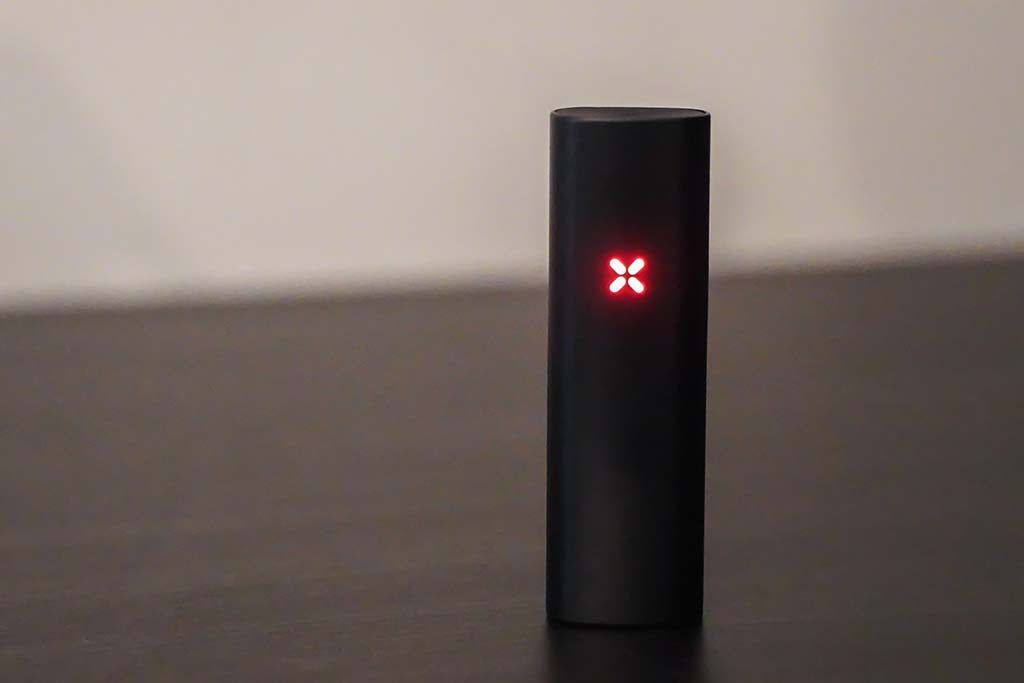
Cleanse with a burnoff cycle
We’ll run a quick burnoff session once your PAX Plus is fully charged to cleanse it of any manufacturing or shipping residues. Set it to the highest setting, Four Petals (Red) / Boost Mode , and let it run through a full session with an empty oven. Give it a light bump or touch the mouthpiece when it goes into standby mode. A few minutes should be long enough, but run as many times as you’d like if any smells still linger.
Grind and pack it down
The PAX Plus does well with different types of loads but works best with a medium to medium-fine grind
and a tight pack. Take a grinder, any will do, and shred enough herbs to fill the oven. Then, use the included Multi-tool to tamp it down. It doesn’t need to be pressed in too hard. Just enough to press it down into the oven.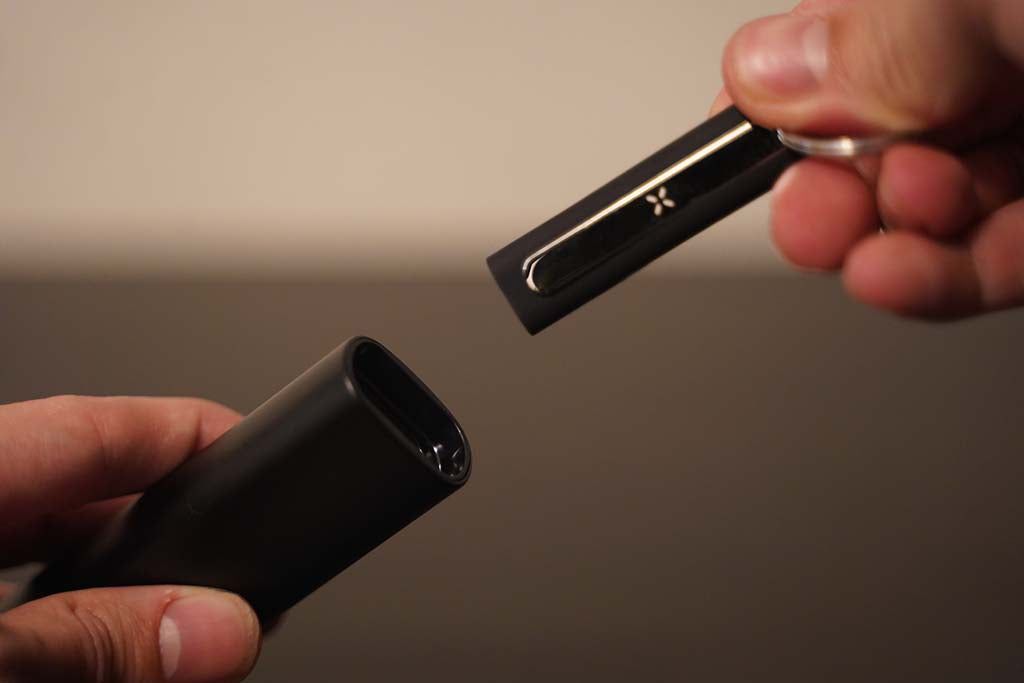
The PAX Plus oven holds around half a gram of dry herb when fully packed and tight. If that’s too much for you, no worries. Just vape as much as you’d like and save the rest for later.
Set the Experience Mode
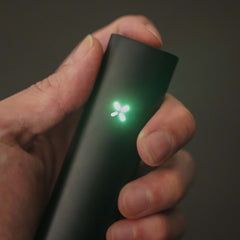
We’ll run this first batch through Flavor Mode for a dense, tasty session that ends strong. When you’re ready, press the button once to turn it on, and then press and hold to enter the mode selector. Cycle through until Three Petals (Yellow)
are shown, and then either shake it to start your session. When it vibrates and turns yellow/green
, it’s ready to go.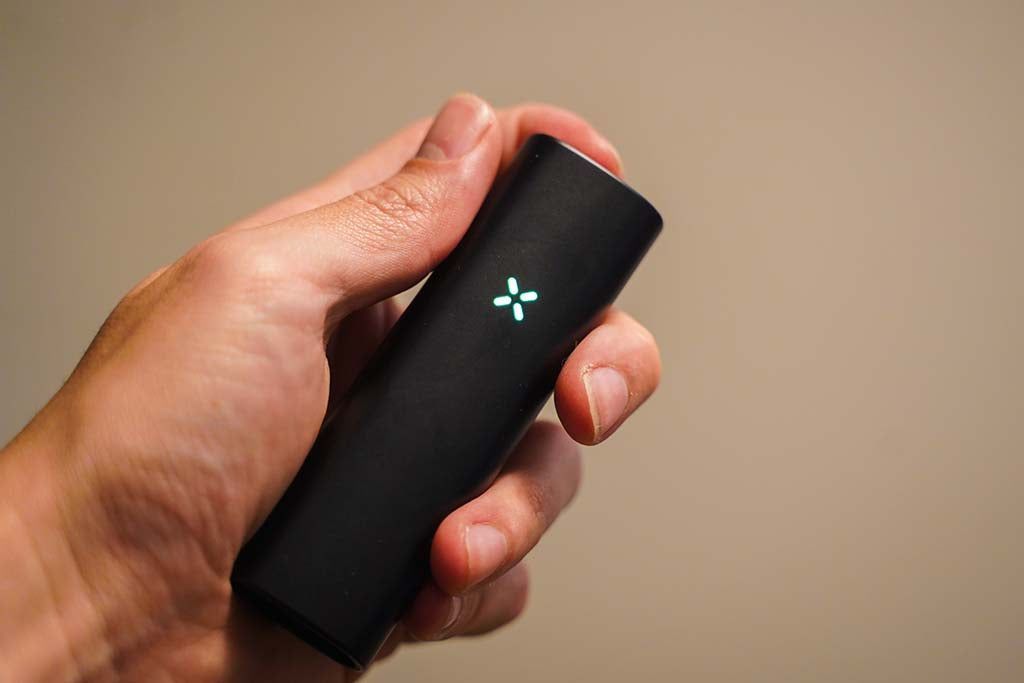
Easy sips
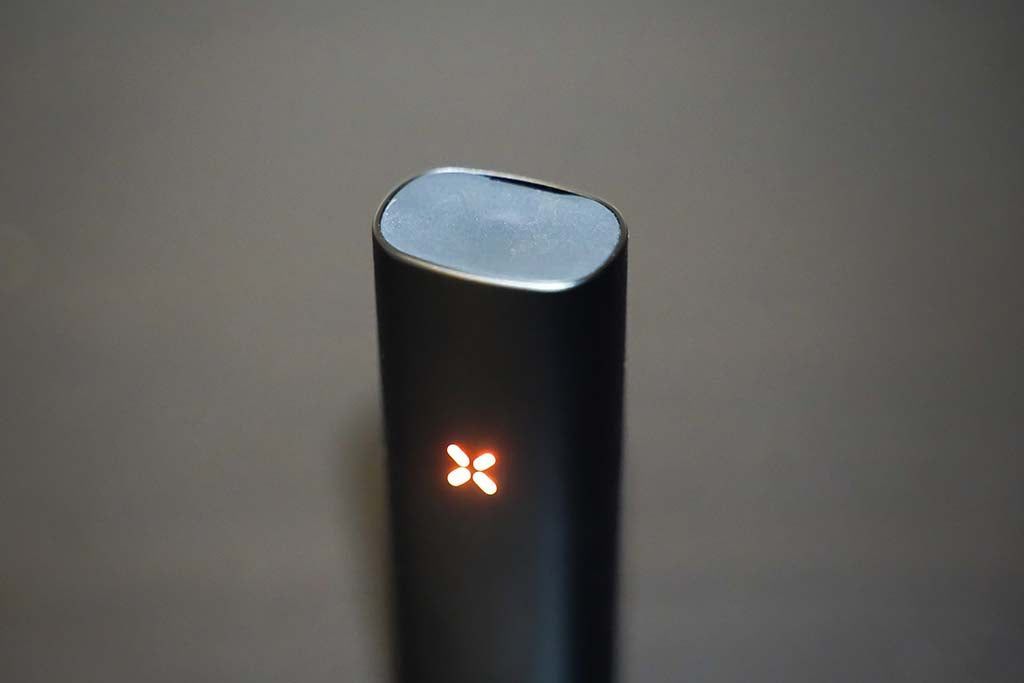
The mouthpiece is located on the top of the PAX Plus and pulls vapor through the little slit on the edge of the vape. When you’re ready, place your lips over the slit and give it a few gentle sips , like it’s hot coffee. Airflow is tight on this vape so light, relaxing puffs are the way to go. Let it sit for a few seconds in between hits for a thicker session. Vapor will build as the session goes on.
Do I need to stir my PAX Plus?
Nope. Its conductive heat will extract everything out of your herbs, with no stirring necessary . The top of the load may be a little lighter than the rest, but that’s perfectly normal and there’s not much there to chase down.
When you’re finished…
When you’re all finished and the oven is still warm, dump and clear the herbs out to prevent any build-up. A clean vape is a happy vape so be sure to do this after every session.